


 -36 inches of waxed cotton cord (mine is in black). I can only find this stuff on a certain jewelry making website (http://www.8seasons.com/). It's $10 for this big spool and it'll last you FOREVER. I love mine.
-4 small beads for charms
-A lighter (or candle)
-Clasp
-4 jewelry eye pins (these are super cheap and come in a big bag at Joann Fabrics)
-Small scissors. I use beauty ones from Meijers. They're excellent for when you need to cut the cord precisely.
-An assortment of tools. I got a set for Christmas that includes: a round tool, flat nosed-pliers, precision tip pliers, and a wire cutter. You don't need all these though. Before I got these I was using a Cabela's multi-tool that worked just fine. But if you're serious about making jewelry, then get some nice tools.
STEPS.
1. How to make the charms. Use the round tip tool!


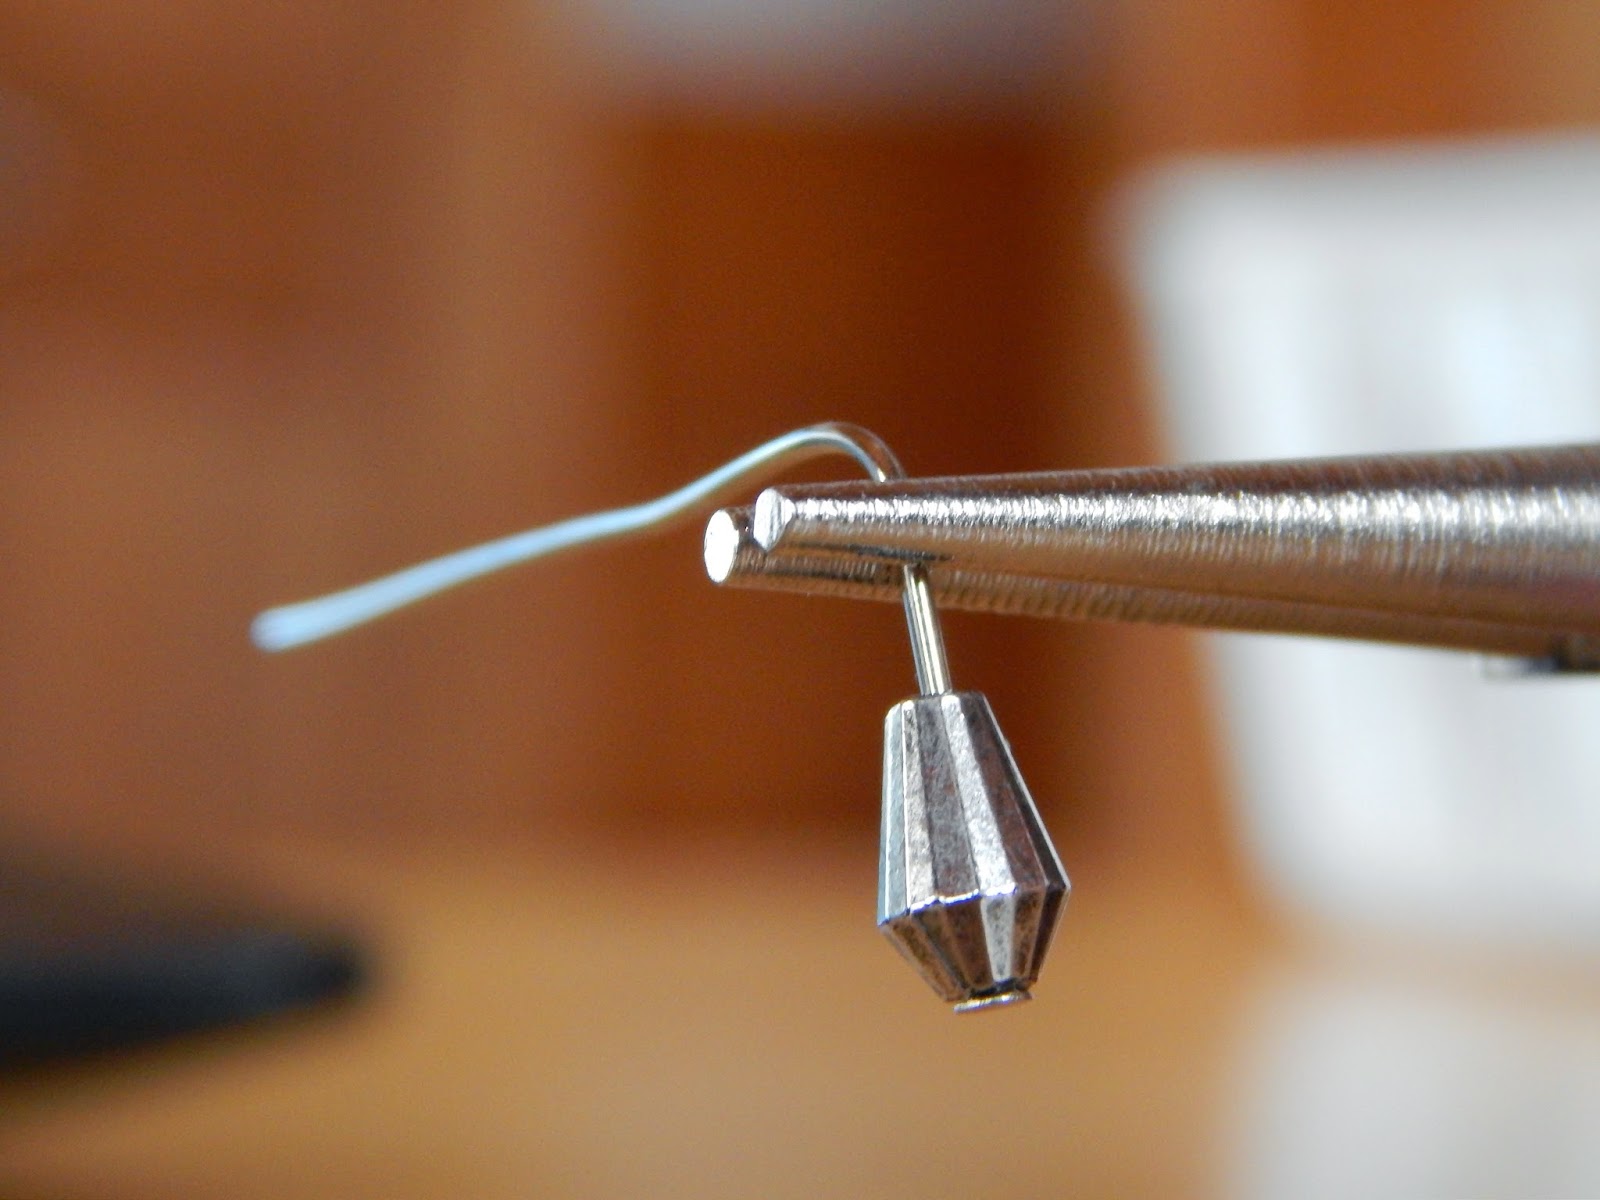


Cut the access wire.

Pinch the ends in.
I know that seems really vague but the pictures describe everything you need to know! Make four of those charms, one for each strand.
2. String on one of the hooks, and two beads on either side of it. It'll look like this

Criss cross the strands, and loop the other hook on those ends. I can't really describe it very well, but here's another picture


3. String on the two other charms, one on each strand. Pull one of the stands through clasp end #1. Now this is where things got tricky, so stay with me here. Measure how long it's going to be around your wrist, cut the access off the ends. Now this is why you need waxed cotton cord. This stuff is the only thing that burns. When it burns, the wax melts and you can attach them to anything when they're hot.
BE CAREFUL WITH HOT WAXED ENDS. They burn really fast and you have to work quickly and confidently. They will catch on fire and that's alright. Just blow them out. DO NOT TOUCH FRESHLY BURNED WAX ENDS! Wait about 7 seconds, then lick your fingers and press down the ends.
Burn both ends of the waxed cord.

Wait a few seconds, then press them together, in a gentle rolling motion so that they're flawless. Like I said, licking your fingers first helps.

Ta-da!

This is what the back should look like.

Nicely done tutorial. Very attractive site!
ReplyDeleteThank you very much!
ReplyDelete